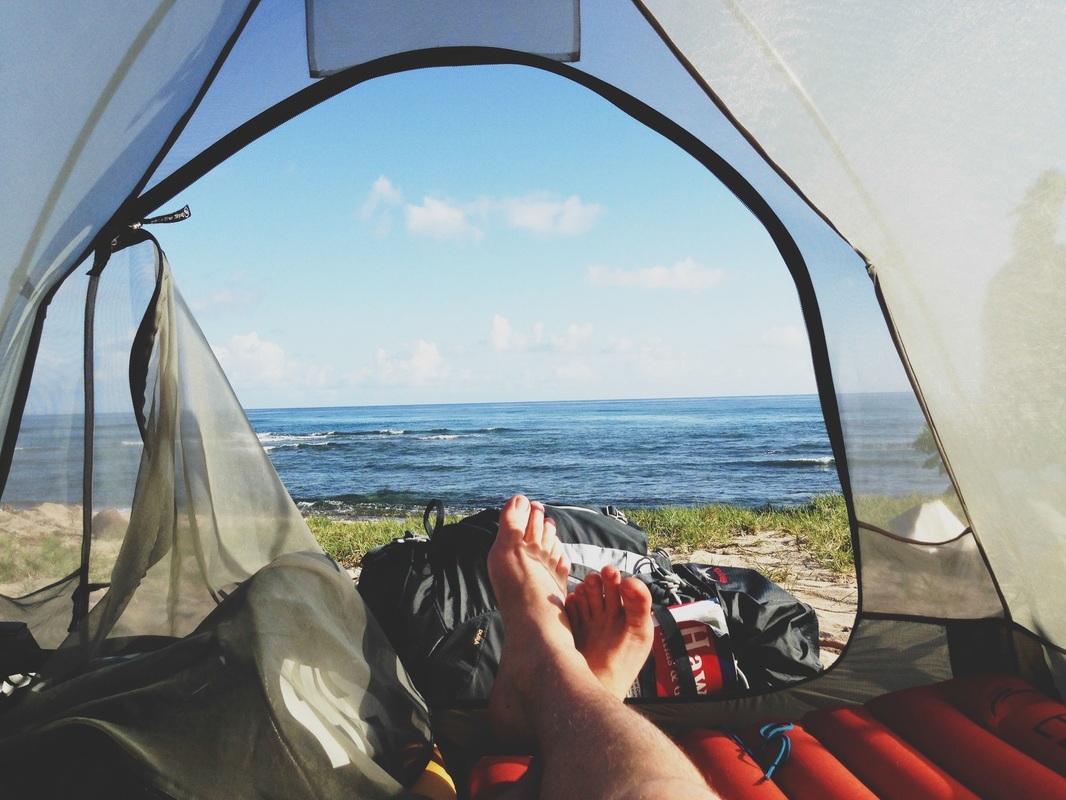
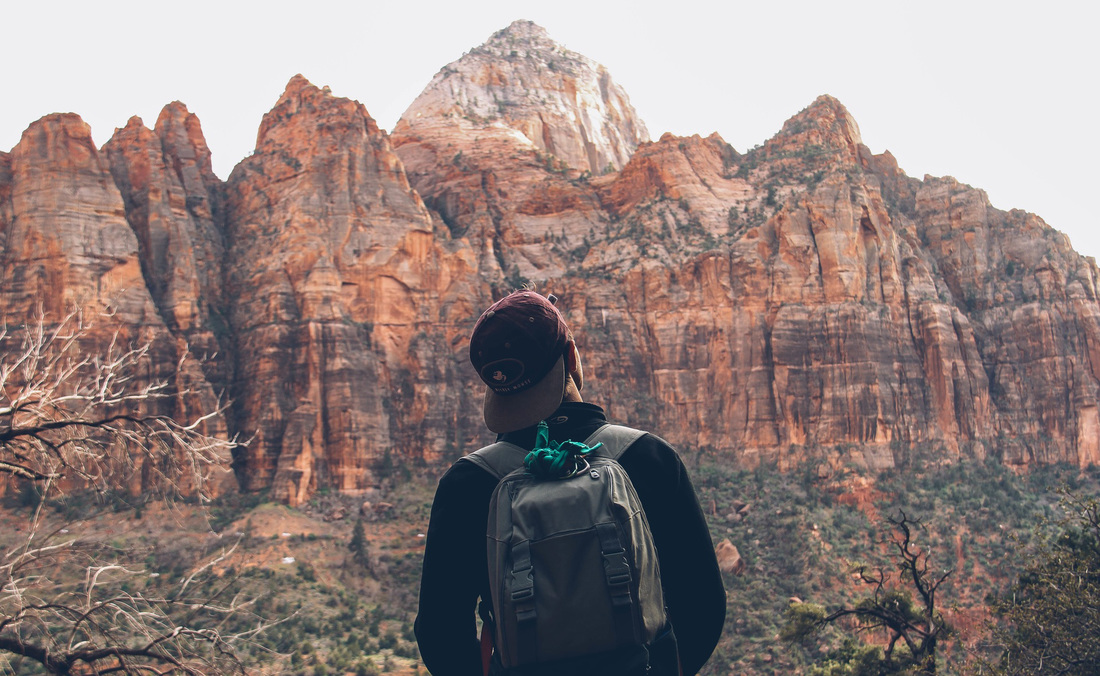
I'm James. This is my year of travel.


Leave "image quality" at Automatic (see below for more options) The other dimension is determined automatically to maintain the aspect ratio of the photo. The number of pixels you select determines the length or height of your photo (whichever is longer). 
In the "Export to folder" window, click "Resize to" then either type in a pixel number or adjust the size slider. Using the default name might be confusing later. When typing "smaller" or "export" you can more easily see later where the exported photos ended up. 
In "Name of exported folder," you can leave the default name or type something such as the word "smaller" or "export" During the export process (also explained in the Picasa Help Center page) you can adjust both the "Image Size Options" and the "Image Quality" settings in the "Export to Folder" screen. The result is newly resized copies of your photos, saved to your hard drive. Exporting lets you change photo size while controlling the JPEG compression (image quality) introduced by your applied photo edits.
0 Comments
Leave a Reply. |
AuthorWrite something about yourself. No need to be fancy, just an overview. ArchivesCategories |
 RSS Feed
